Posts

Showing posts from March, 2014

Installing and customizing conky
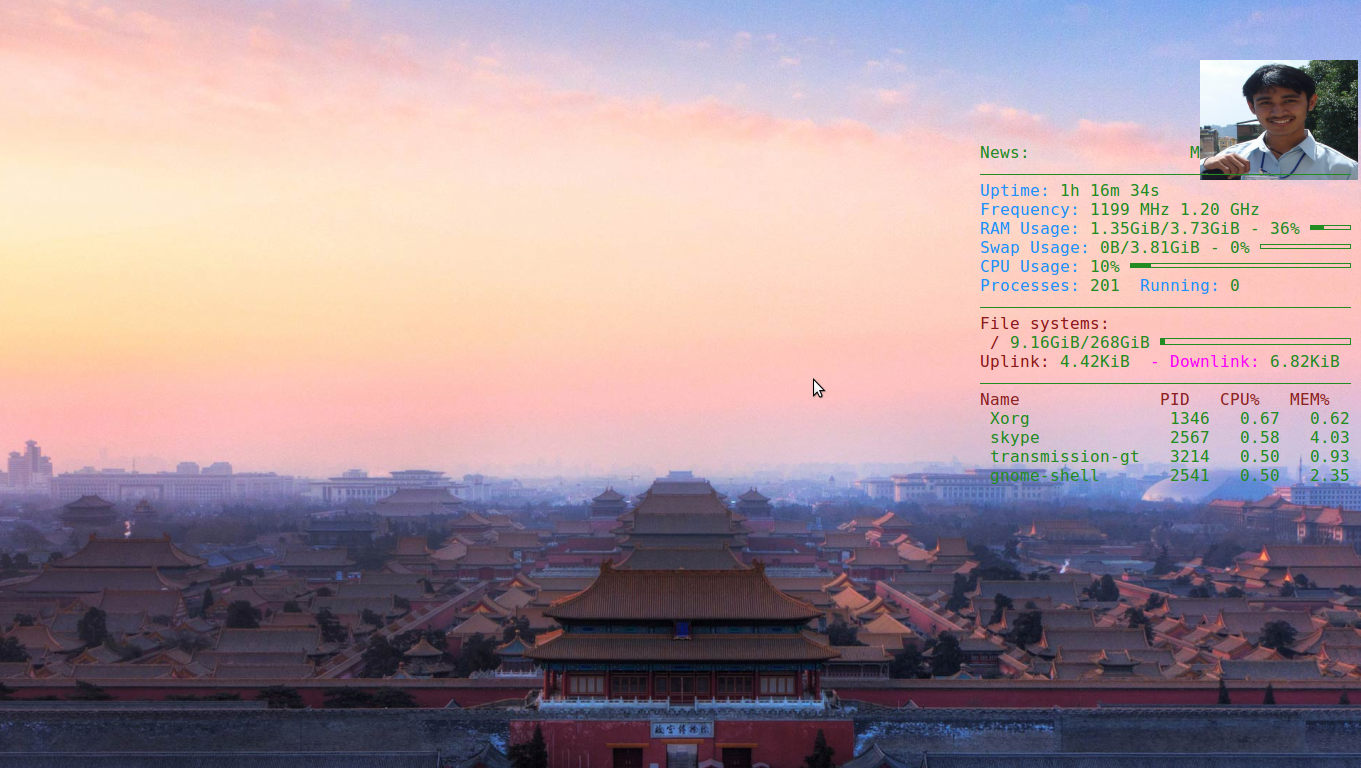
Image
In the picture you should be able to see that in the top right of the screen, I have various information displayed about my system. You should be able to see a photo of mine, the time my system has been up, CPU usage, RAM usage, file-system, network speed, running processes and more. That's cool isn't it? You can install install it in you Linux too and customize it to make it look the way you want. Well that cool application's name is 'conky'. You can install it by running the command  sudo apt-get install conky in your terminal If also need to install lm-sensors, you can use sudo apt-get install lm-sensors to install lm-sensor which is required by conky. For my system my conky configuration is at /etc/conky/conky.conf . You may create your conky configuration in your home directory in the name .conkyrc . The configuration file is plain file which you can modify to customize conky as per your need. Below are a few configuration you might want to play with...

Overview of Python Imaging Library (PIL) Image Class Wrapper

Image
Recently I have been working in Image Processing using Python. So I am posting my about what I learn during my work. You can also find the complete notebooks at  https://github.com/opnchaudhary/python-notebooks . I will  be doing the basic operations related to Image manipulation. For your better understanding I have put comments in each lines. Lets get started: import Image #import Image library img=Image.open('image.png') #load an image using the Image library print img.format,img.size,img.mode #print the format,size and mode img.show()#display the image This is a very simple example which opens the image file, 'image.png' and prints the format, size and mode of the image. The last line displays the image. The following is the sample Image I used in my tests. Another example to convert image formats: import Image #import Image library img=Image.open('image.png') #load an image using the Image libary img.save('newimage.jpg',"JPEG")#save the i...

Sharing my Python Notebooks

Here in this post, I am not going to write about any python tutorials or tips and tricks but share you my python notebook repository. I have tried to document the notebooks with few words and more descriptive. However I would like to hear your feedback and suggestion. You can find my notebook at https://github.com/opnchaudhary/python-notebooks . Installation instructions is in the README.md file in the repository. Hope you find that useful.

Audio Player in BrightScript

Image
I have already written about ' Live Channel Application for Roku using BrightScript Language ',' Parsing JSON in BrightScript Language for Roku ' and ' Adding Splash Screen in Roku Channel '. This post is for an example application using BrightScript for Roku. The following  brightscript snippet is used to play mp3 file.

Uploading a file using ftplib

In this post, you'll see how we can use ftplib to upload files to a ftp server. In the following example, 'import ftplib' imports the ftp module. session = ftplib.FTP('example.com','username','password')  makes a ftp connection to the ftp server with the specified ftp server with the supplied username/password. file=open('cup.mp4','rb') opens the cup.mp4 file. And then session.storbinary('STOR cup.mp4',file) uploads the file to ftp server.Finally we close the file with file.close() and then close the session session.quit()