How to use Arachni for web vulnerability scanner

Disclaimer: This is for educational purpose only. Use it responsibly.
There are various tools available for web vulnerability scanning. Here in this post, I am going to show how to use Arachni for web vulnerability scanning. This tool is available for Linux, Mac and Windows as a command line interface and web interface. Here, I will guide you the installation in Linux and Mac. And show command line interface for usage.
Download in Linux
$ wget https://github.com/Arachni/arachni/releases/download/v1.5.1/arachni-1.5.1-0.5.12-linux-x86_64.tar.gz
Download in Mac
$ wget https://github.com/Arachni/arachni/releases/download/v1.5.1/arachni-1.5.1-0.5.12-darwin-x86_64.tar.gz
You can download by clicking the above links through your browser too. You can use a gui based extractor to extract the files. I will show you the command to use for extraction
$ tar xvf arachni-1.5.1–0.5.12-linux-x86_64.tar.gz
Now you have extracted the archive file. You can add the extracted directory (In my case it is ~/bin/arachni)to your executable path. Open ~/.bashrc file and add
export PATH=”$PATH:~/bin/arachni/bin/
Now you can access arachni from your command line. The basic command to scan a web is:
$ arachni http://example.com
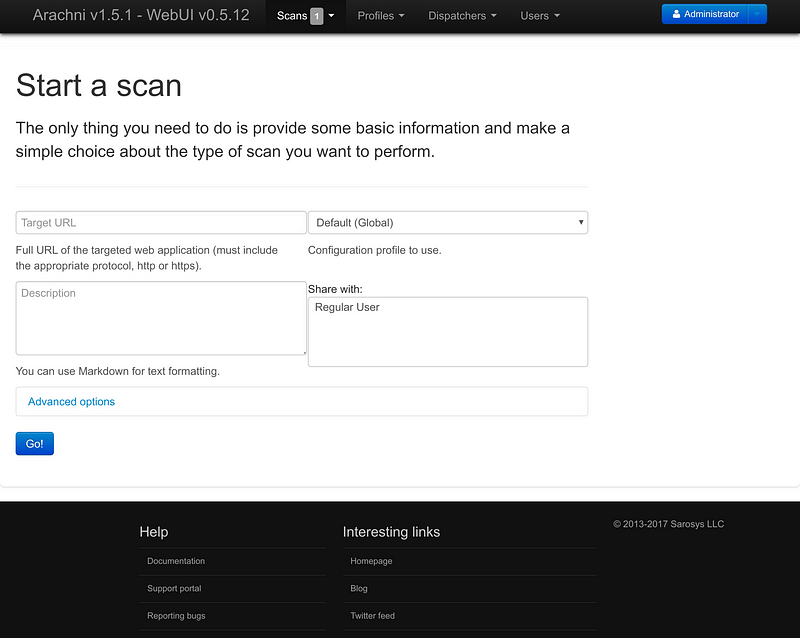
If you want to use the web based version you can run the command arachni_web and you can access the web interface at http://localhost:9292. To login as administrator use
username = admin@admin.admin
password = administrator
password = administrator
and to access as a regular user use:
username = user@user.user
password = regular_user
password = regular_user

Once you are logged in click on ‘Scans’ Menu and select ‘New’ you will get the above interface, enter target URL and hit go. Once the scanning is complete, you can export the report to various formats like HTML, XML, JSON, YAML, AFR, etc.


Comments
Post a Comment